Guides
How to Clean a Leather Bag: Conditioners, Water Stains and What to Avoid
How to clean a leather bag at home without damaging it — the right conditioners, how to fix water stains, and the common mistakes that dry out or crack leather.
Clothing, shoes & accessories, honestly reviewed
Guides
How to clean a leather bag at home without damaging it — the right conditioners, how to fix water stains, and the common mistakes that dry out or crack leather.
By Claire Whitmore · Fashion Editor
Last updated August 26, 2026
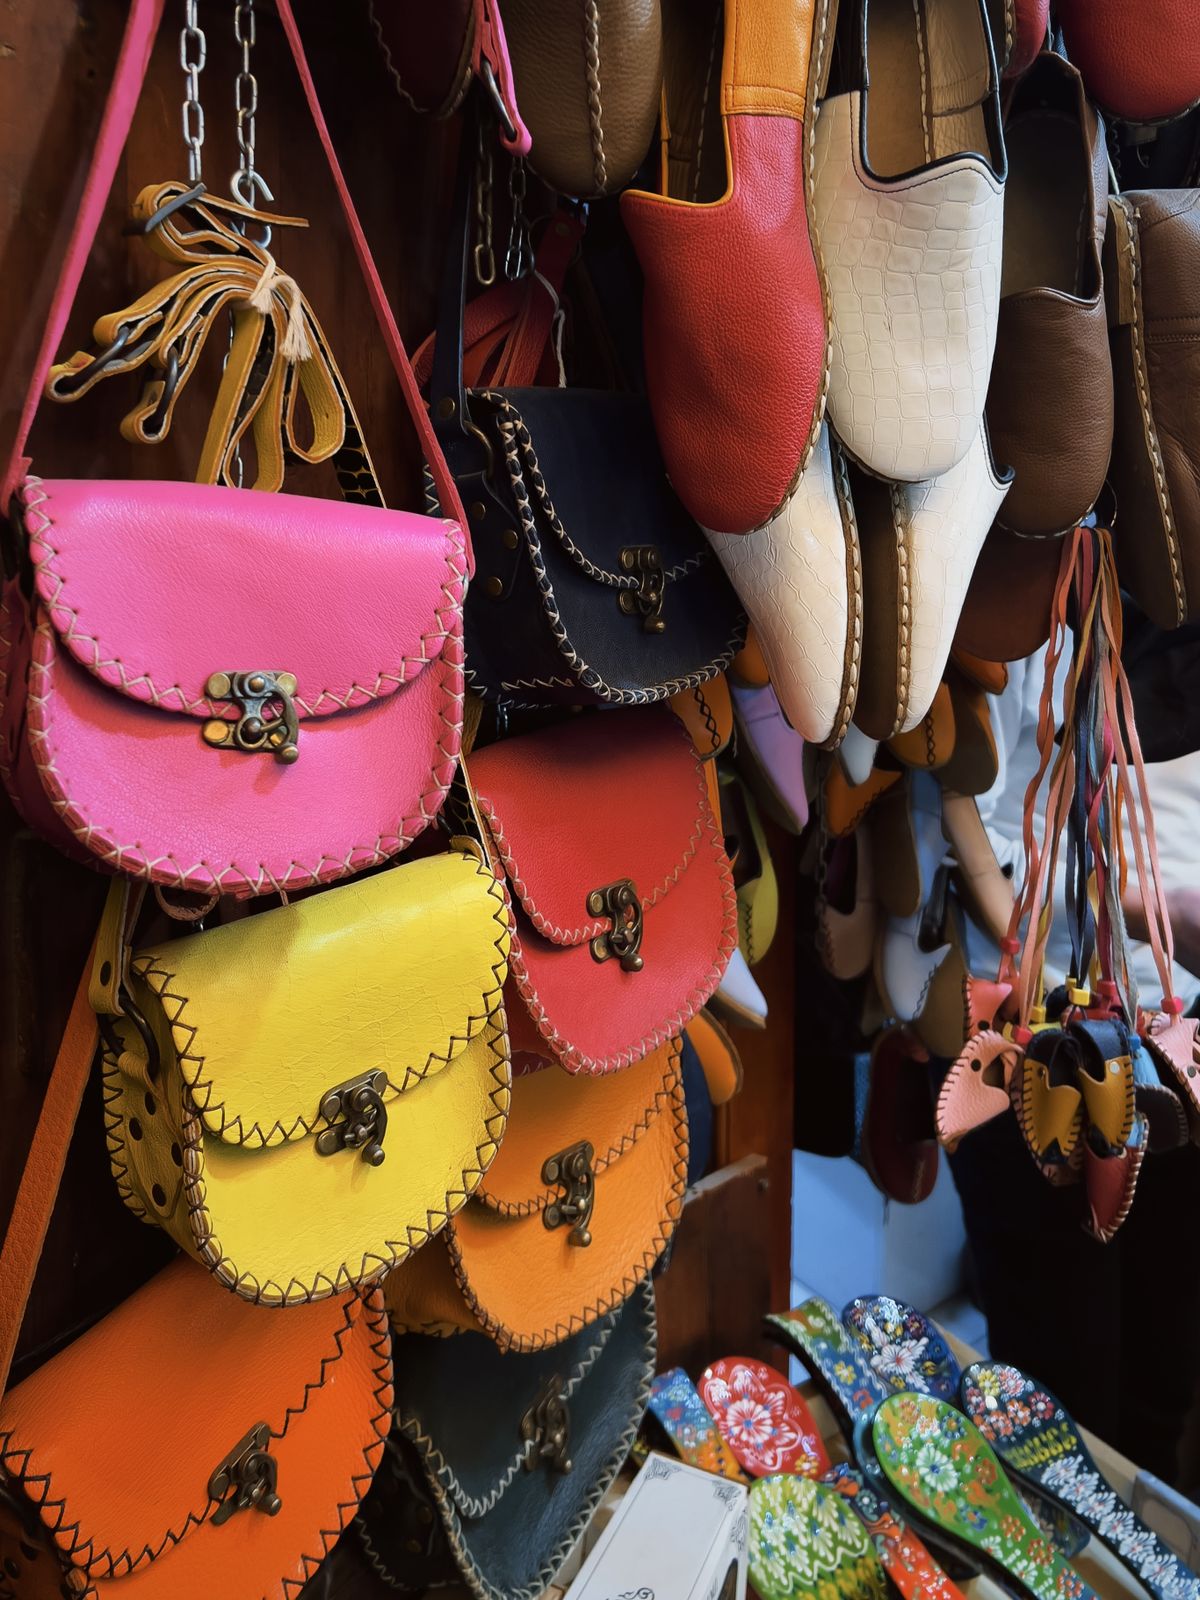
Most leather bags are not ruined by wear. They are ruined by the products people reach for when the bag starts to look tired: baby wipes, hand sanitizer that transfers from fingers to handles, an all-purpose spray and a scrubbing cloth. Each one strips a little of the finish, and the damage compounds in a way that daily commuting never does. The repair is not a rescue operation, either. It is a short routine with cheap supplies, done on a schedule, before anything looks wrong.
Dust first, always. Surface dust seems harmless, but it is abrasive, and rubbing a dirty cloth across the panel pushes those particles into the finish the way grit works into a car’s paint. A dry microfiber cloth in light circular motions, done weekly, is the whole maintenance story for smooth leather. This step costs two minutes and prevents more damage than any conditioner you can buy.
For smudges, dampen a soft cloth with water (barely — never soak the leather), add a single drop of mild soap if needed, work the spot gently, then follow immediately with a dry cloth. Leather brands like Charles & Keith publish official care guides that stress patch-testing anything new on a hidden area, such as the base or inside a flap, before it touches the visible panels. Give the test spot a full day before judging it. Some damage from the wrong product only shows once the leather has dried.
Conditioning is the step that determines lifespan. Clean first, always: conditioner seals in whatever sits on the surface, dirt included. Then apply a thin layer of product to the cloth, never straight onto the bag. Poured directly on, conditioner pools along seams and soaks the stitching, and an over-saturated seam is where leather bags start to fail. Working through a cloth spreads it evenly across the whole panel. Pay attention to corners and folds, because that is where the leather flexes most and cracks first.
Let it absorb for 10 to 15 minutes and buff off the excess. Whatever is still sitting on the surface after that has not been absorbed; it will dry into a tacky film that collects dust.
For conditioning, Bickmore Bick 4 is the safe all-rounder: it is wax-free and formulated not to darken leather, which matters on lighter bags. Saphir Renovateur is the upgrade pick for fine calfskin — it cleans and conditions in one step, though it can deepen the color slightly. Aim for every two to three months. More is not better. Over-conditioned leather stretches and loses its structure, which is a slower version of the damage you were trying to prevent.
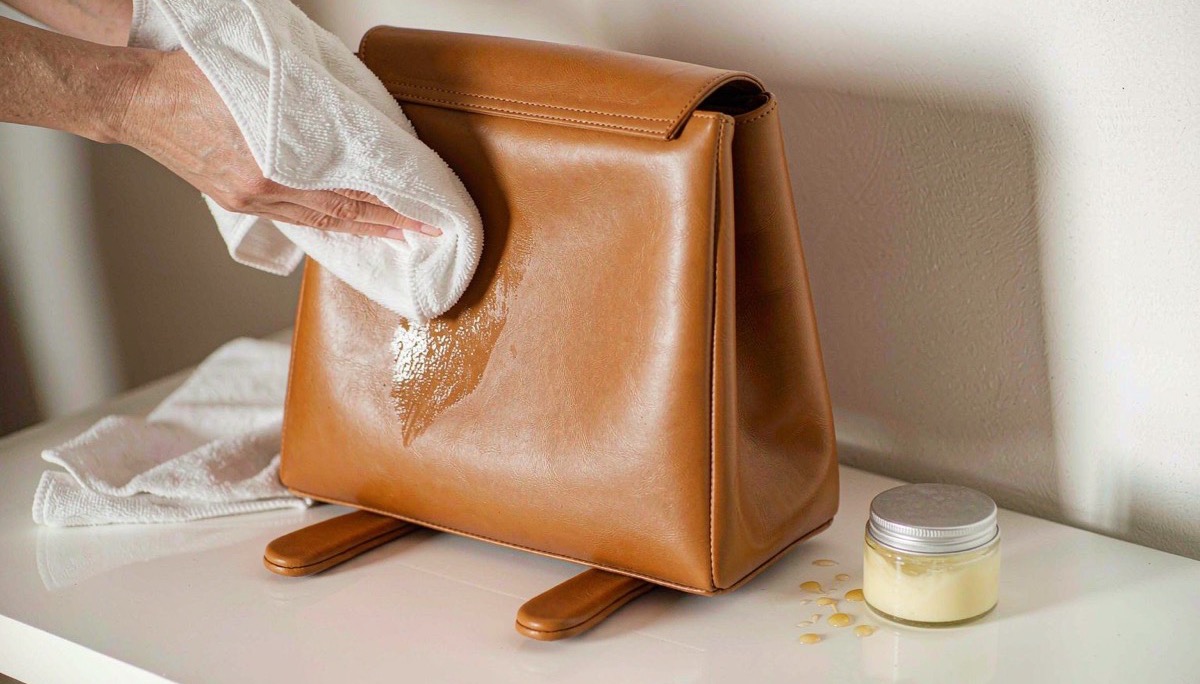
Two minutes with a dry cloth a week beats any rescue mission later.
Water is the most counterintuitive stain. A splash left to dry unevenly leaves a ring because the leather absorbed moisture in one patch, and the ring is simply the boundary between the wet area and the dry one. The fix professional guides agree on is to re-wet the entire panel evenly with a barely damp cloth, feathering out from the spot so it dries as one uniform surface. Then let it air dry at room temperature and away from any heat source, and condition once fully dry.
Heat is what makes a water spot permanent. It drives the natural oils out of the fiber structure and stiffens the hide, so a hairdryer turns a cosmetic problem into a stiff, cracked patch. Patience is the entire treatment.
For oil or grease, skip water entirely: blot, cover with cornstarch or talcum powder overnight to draw out the oil, then brush away. The powder does the absorbing so the cloth does not have to, and repeating it twice over two nights works better than one heavy application.
Ink is a different problem, and the honest answer is that home treatment rarely works. Ballpoint ink sets into the finish within minutes, and every solvent strong enough to lift it will also lift the dye around it. Blot fresh ink immediately with a dry cloth if it is still wet; beyond that, hand the bag to a professional cleaner rather than experimenting on a visible panel.
One more transfer deserves a warning: dark denim. Raw denim rubs dye onto lighter leather, and indigo marks on a pale tote are the single most common stain we see reported on structured bags. Rotating a light bag away from dark denim outfits prevents it; cornstarch will not.
Store the bag stuffed lightly with acid-free tissue paper to hold its shape, inside a breathable fabric dust bag. Plastic traps moisture and invites mildew, and mildew smell in a lined bag is close to impossible to remove. Keep it upright on a shelf rather than hanging by the straps, which stretches the handles over time — a bag’s own weight is a steady load on stitching that was sewn for a filled bag, not for a hanging one.
Do not overfill it in daily use, either. Stressed stitching is the most common structural failure on well-loved totes like the ones in our best work totes for women roundup. Leather also benefits from rest between wears, because moisture picked up over a day of handling evaporates back out overnight; a bag used consecutively for weeks never fully dries.
Baby wipes and household cleaners are the two products to rule out outright. Their alcohol and ammonia content strips finishes and causes discoloration that no conditioner can reverse. The chemistry explains it: finished leather sits on the acidic side, and anything strongly alkaline swells and roughens the surface fibers, which is why a scrubbed patch looks dull and feels dry afterward even when it is clean. Saddle soap belongs in the same category for bags. It was designed for tack and untreated harness leather, and on a finished handbag it leaves residue in the grain that dulls the finish.
The habit that prevents all of these accidents is the same: test on a hidden spot first, and wait a day before trusting the result.
Turn the whole routine into four entries in your calendar. Weekly: two minutes with the dry microfiber cloth. As needed: spot-clean with a damp cloth and a drop of mild soap. Quarterly: clean, then condition with Bick 4, giving the corners extra attention. Seasonally: check the stuffing, retire the bag to its dust bag if it is out of rotation, and keep it off the floor where humidity collects. The same conditioning logic applies to footwear, which we cover in how to break in leather boots.
None of this is complicated, and that is the point. A bag that gets dusted weekly, conditioned quarterly and stored in a dust bag will develop the patina that makes leather worth buying in the first place, and it will earn its place in a capsule wardrobe checklist rather than the donation pile.
Every two to three months for a bag in regular rotation, per the care guides published by leather brands. Apply a thin layer with a soft cloth, let it absorb for 10 to 15 minutes, then buff off the excess — over-conditioning leaves a tacky residue, so less is more.
Moisten a clean cloth with plain water and blend the entire stained panel evenly, feathering outward, so the leather dries uniformly instead of leaving a ring. Let it air dry away from heat, then condition. Heat drying is what turns a water spot into permanent damage.
No. Wipes and household sprays contain alcohol, fragrances, or ammonia that strip the leather's finish and cause discoloration and cracking. Use a damp cloth with a drop of mild soap at most, or a dedicated leather cleaner, and test anything new on a hidden spot first.
Everything on this page comes back to one question: what does the label tell you, and what does the thing do on month three? Start at the care companion to build a washing and storage routine that fits what you actually own.
The ASTM D5489 symbol system, decoded operation by operation.
Cool-water washing, de-pilling without damage, moth-proof storage.
What feeds the aging curve and what breaks it.
Claire Whitmore · Updated October 12, 2026
Claire Whitmore · Updated October 12, 2026
Claire Whitmore · Updated October 12, 2026
Claire Whitmore · Updated October 10, 2026